Lunules
To solve trouble of misuse of anchors, excessive weight of gears, price of bolts, rivers in spate, deteriorations of sites… We need to find a new way!
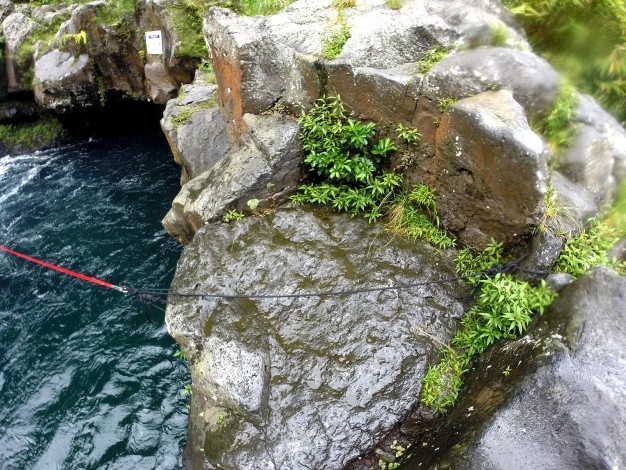
Canyoning is a huge source of inspiration, A well-known thing in this environment: lunules.
Now, I use these for 90% of waterlines in Reunion Island.
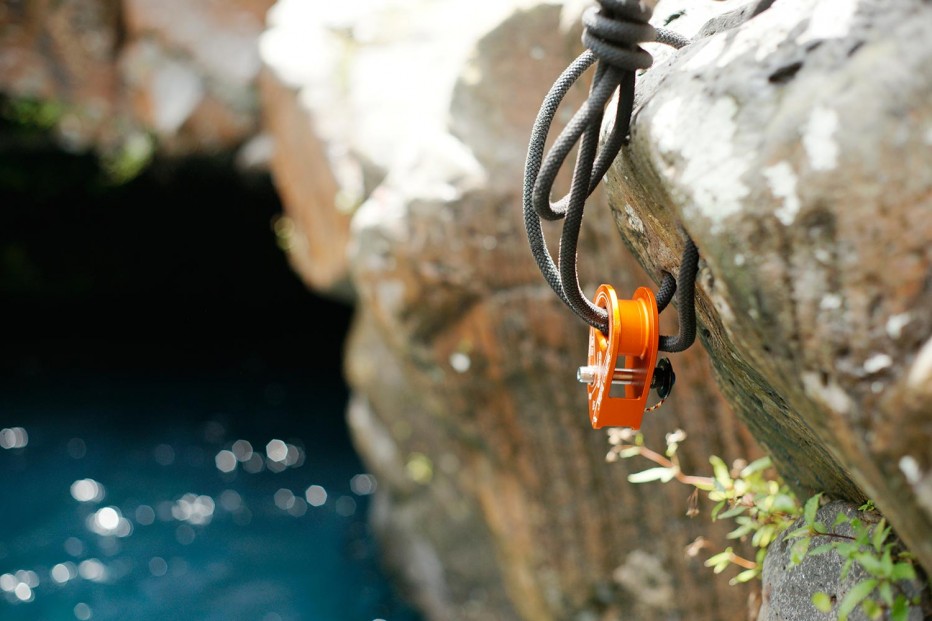
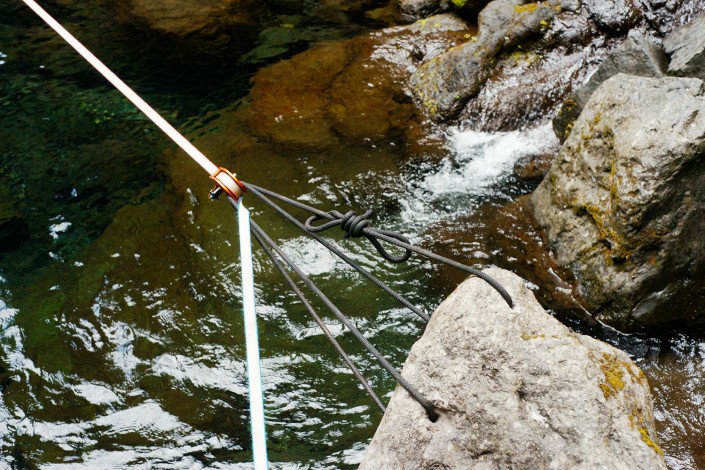
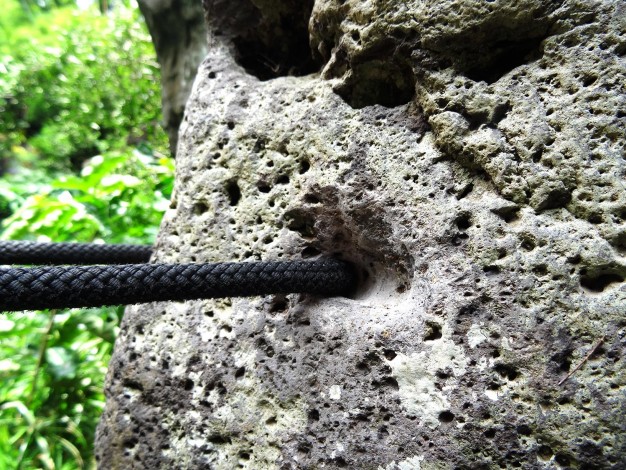
The lunule, what’s this?
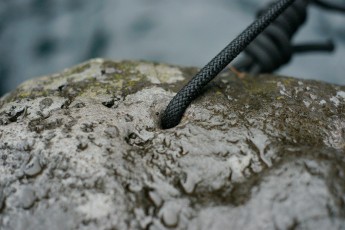
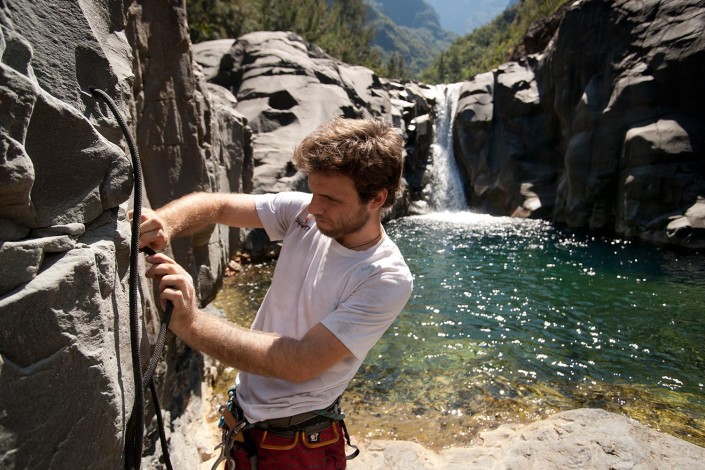
In summary: we drill rock and we put a piece of rope through.
Lunules come from Mountaineering and is named Abalakov (more info on the Petzl website), this allows for rappelling descent directly without metal parts.
Resistance is proven in the ICE (depending on the quality).
Then it was used in Canyoning to instal, in majority fixed handrails, or abseiled down where using metal is impossible with rises.
It’s even more resistant in the rock and an almost unlimited life!
Afterwards comes the climbing with a few uses.
And finally, the Slackline, I hope it will be develop elsewhere after this successful test in natural size in Reunion Island.
It becomes, in a way, obligatory with the numbers of points needed to install lines, in addition to the number of lines growing exponentially (a kind of epidemic “nail board”)!
I use a method that no requires hooks for the implementation, and which avoids having peak in the middle of the lunule (as the version on ice).
Advantages:
- Cheap.
- Easy/quick to install/uninstall.
- Resistant to floods.
- Non polluting.
- Utilisable dans le Parc.
- Usable in the National Park.
- Long life.
- Cheap for the opener (drill costing 30€ to 50€ for 15/20 lines).
- Highly resistant to tension.
- Few gears needed… so very light.
- Slings unnecessary heavy now.
- Possibility to adjust the equalization length!
- Possibility to use clubs ropes cutting.
Disadvantages:
- Resistance depending on location.
- Rock quality can vary over time (sun/floods).
- Requires two knots.
- Long to instal itself if without experience.
- For openers: not for beginner.
- Abrasion if sketch (topography) not respected.
- Lunules difficult or impossible to find without the sketch (topography).
- Elasticity in the equalization (with a semi-static rope).
It’s safe?
-
Strength:
Yes, it’s very strength, after some tensions tested, we must have a range of 15kN to 20kN (we will confirm this with a dynamo in the future)
After one year of tests, 50m, jumplines, some lines tensions evaluated until the ton, it gets the job done!
The resistance varies according to some logical points. The depth of drilling and rock quality.
Empirically, we can already easily deduced that the vast majority of rock will be stronger than ice.
Likewise, I use bits that vary between 25cm and 75cm long, and I use rounded blocks, so I use a larger mass.
Thus, we can conclude that already exceeds the strength of abalakovs.
I also read reports of people who made their rupture tests on small lunules with a 4×4 … The 4X4 has slipped…
***In construction, the advanced tests, ruptures with curves, etc .. Later, a lack dynamometer …***
-
Abrasion:
Regarding abrasion, after one year of testing, this is a real success! The rope already old and used for 4 years, only has very slight wear, bobbles style. In the end, it go off normally.
A simple rope will last 2 years without fears or risks!
If the line is set up according the topo, there will be no worries, because each of the lunules were worked and smoothed as possible. When necessary, I finish these with sandpaper!
Abrasion also evolve depending on your type of rope. Either you have semi-static rope or Dyneema. We will see this below.

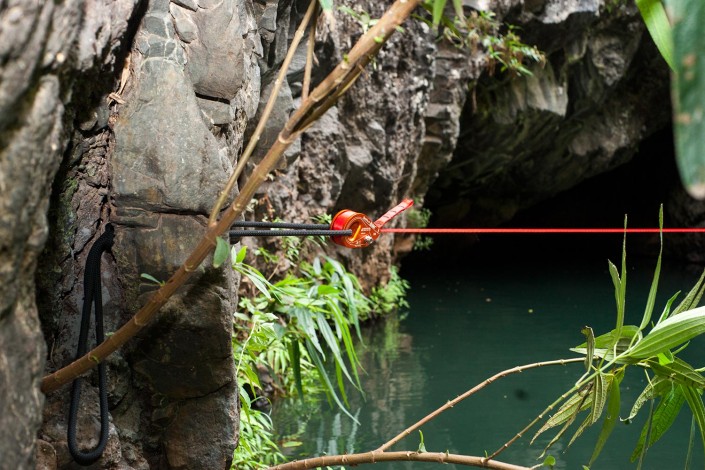
Lunules types:
As we have to adapt to our environment (and not the opposite…), we had to create lunules variants. To facilitate reading of topo-guide and make it more intuitive setup, here some notations.
After had make all possible lunules types, so here the report:
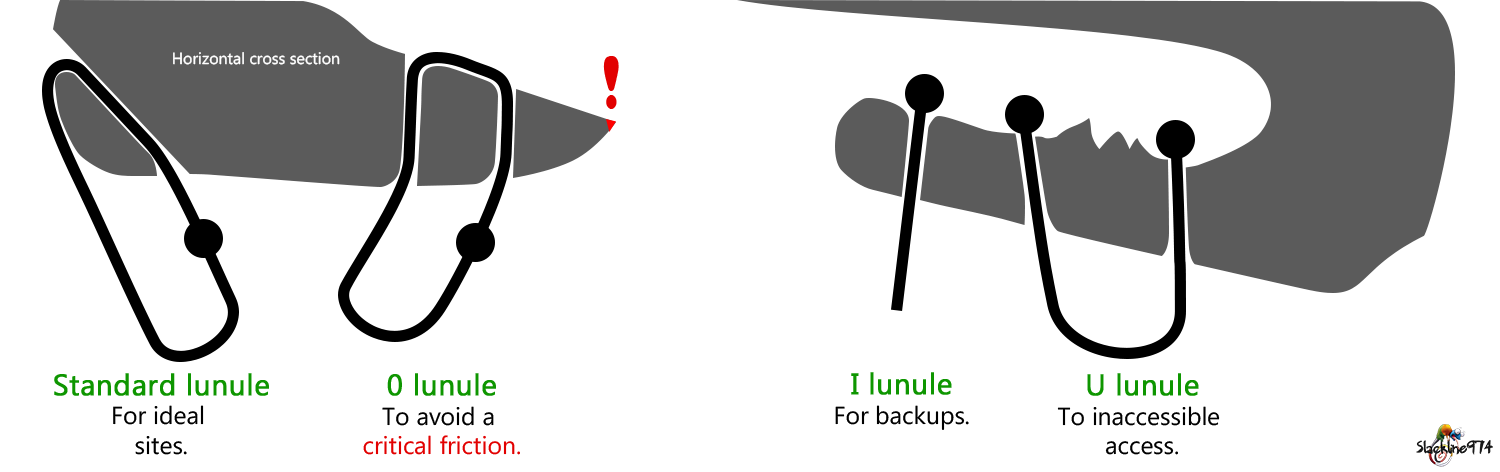
- The standard lunule: The simplest to use, and to identify! A simple hole and that’s it (2 per side anyway), used when the rock is smooth or/and no friction is present. Simple and quick.
- The 0 lunule: Variant of the first who make pass the rope, go back AND forth, in two lunules separately, in order to avoid an embarrassing sharp edge.
- The I lunule: When the site does not allow the natural backup, there is a downstream lunule to secure all the installation. Generally, the use of a single rope strand is enough, hence the name!
- The U lunule: Here are the rarest and hardest to grasp. If this method is present, it’s because it was the only option. Access is usually difficult or impossible to work the rock … So we make two knots to the end of the rope to secure the rop braid.
Cordages types:
Most of lines can be mounted with 7m of rope per side (the equivalent of a 3m sling), but sometimes, some of them more exotic, require more equipment….
Compared to the slings prices, and the versatility of a rope, we immediately see which solution will the most advantageous!
Despite the price, my choice is fully for Dyneema, but for smaller budgets, a piece of rope will do.
-
The semi-static ropes:
The simplest and cheapest method is to buy a simple semi-static rope for canyoning/caving. The same that we use in our pulley systems.
You can find some rope for nothing, and change it every two years to not worried.
For lunules of 12mm diameter, the maximum diameter of ropes is 10,5mm. Why not more? Simply because a rope swells in water and with the bobbles, the diameter increases.
The ideal diameter for rope is 10mm (for 12mm diameter lunules), best ratio price/weight/resistance.
Advantages:
- Cheap.
- Easy to use.
- Easy to find.
- Multipurpose.
- Easy to control.
Disadvantages:
- Heavier than dyneema.
- Requires to do well the knots.
- Elasticity in the equalization (for high stretch ropes).
-
The dyneema:
Much more expensive, but also incredibly strong (stronger than steel at the same diameter) and light as a feather! The most important advantage of Dyneema, apart from its weight, is its exceptional resistance to abrasion. It’s “impossible” to cut it with frictions.
Investment is really recommended for the benefits!
Advantages:
- Extremely resistant (to tension and to abrasion).
- Extremely light.
- Pocket-size.
- Small diameters possible.
- Totally static.
- Easy to use…
Disadvantages:
- Very expensive
- Difficult to inspect (UV sensitive).
- Specialized stores.
- Not versatile.
- … once splices made.
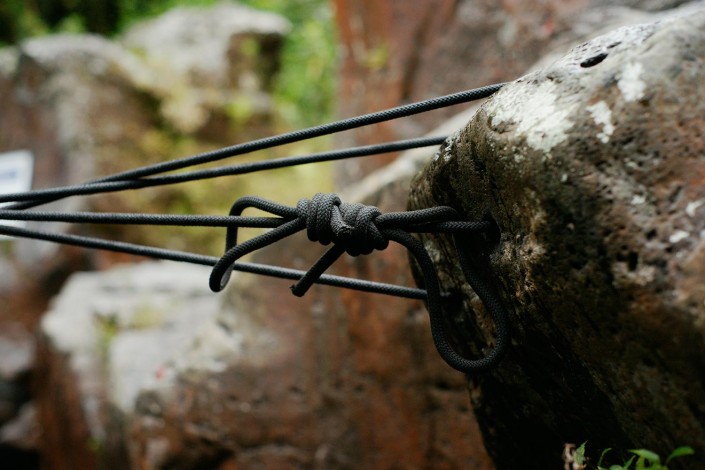
Knots types:
-
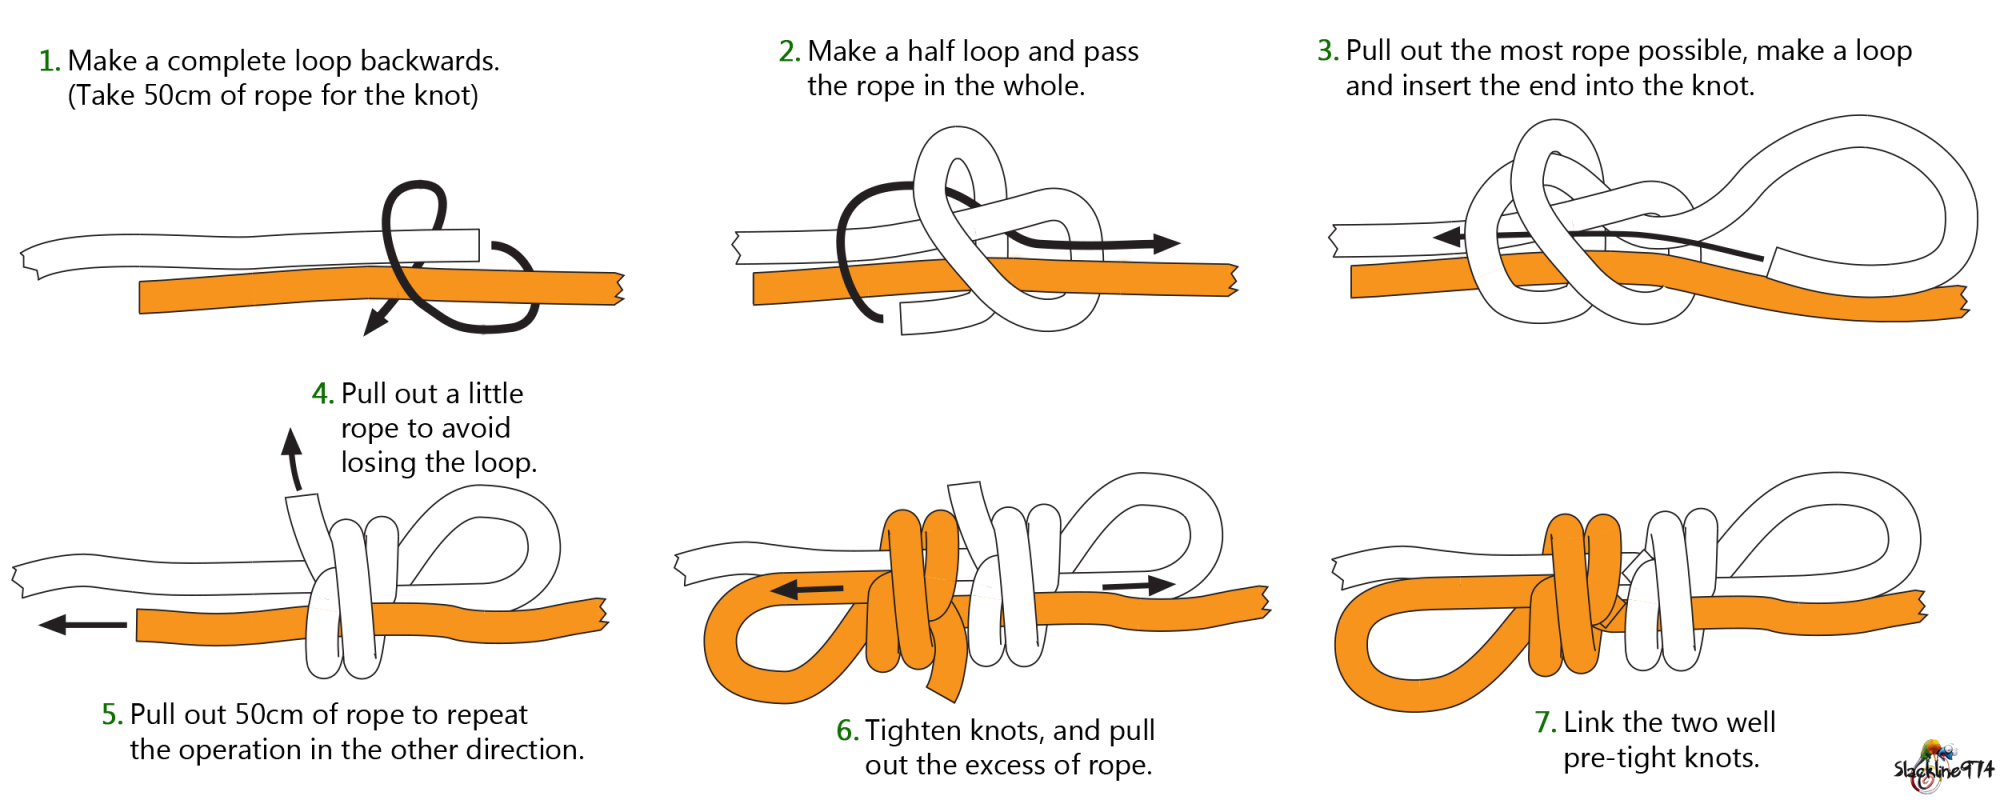
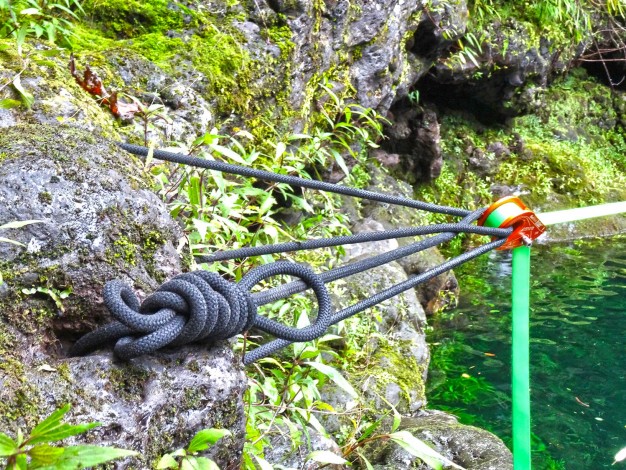
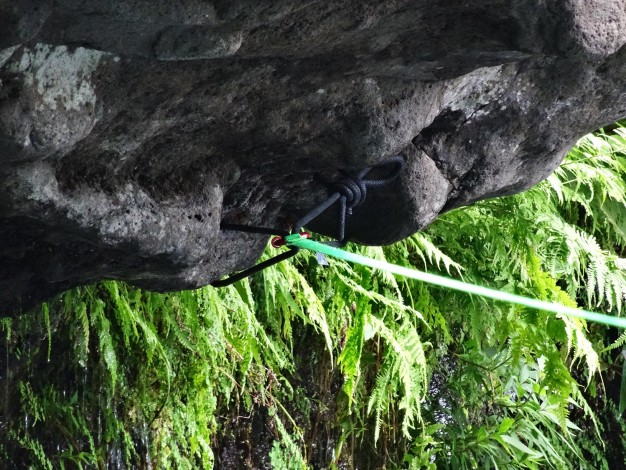
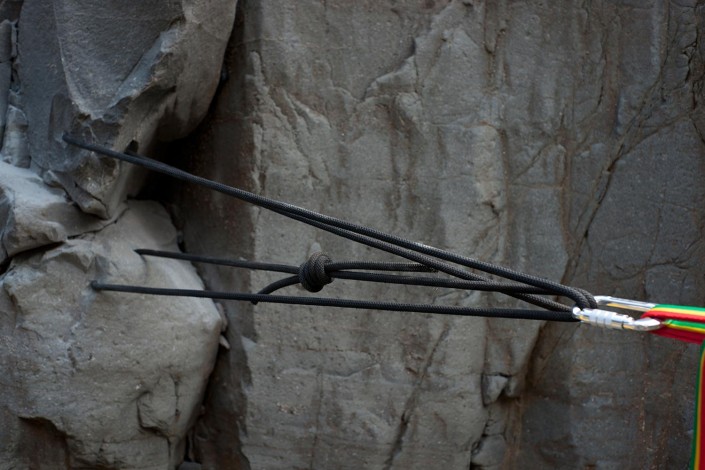
The Double Fisherman’s “for lunules”:
I only detail this method because it’s the most suitable for me. It allows to be quick to set up, but as easy to undo despite the tension.
The addition of a loop in the knot, adds a rope thickness, which when removed allows to undo all easily after a strong tension.
Anyway, be careful to get the same result as the last step, otherwise, undo the loop will be complicated …Important: Do not make Triples, Quadruples Fisherman’s etc… MORE you will make loops, harder will be the knot.
-
The splices for dyneema:
There are 2 possible splices for lunules, they will be explained later. (lack of time).
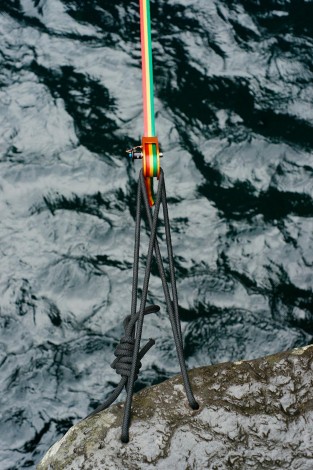
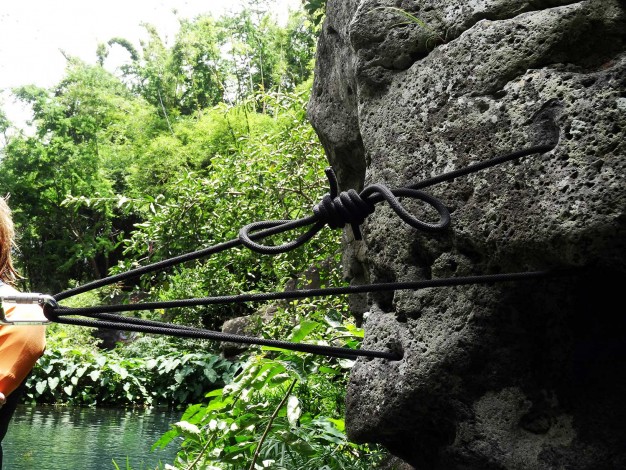
Installations (triangulation or equalization):
I will not detail all variations/combinations… I prefer to show both that work wonderfully, it makes my job easier (it’s so long to explain, isn’t it?….), and it avoids to spread confusion.
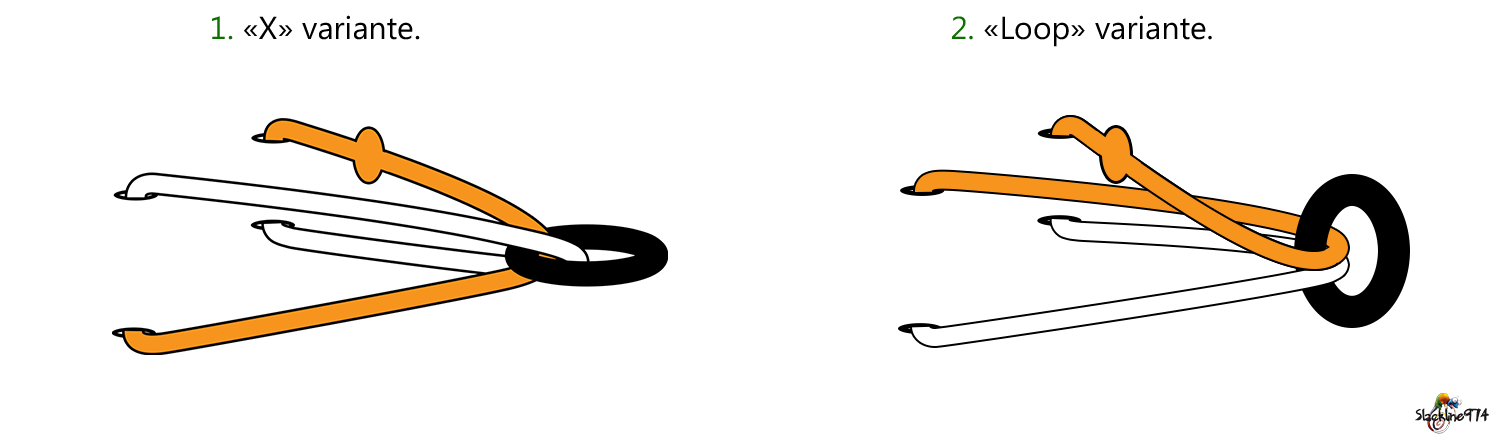
So, here are two methods on standard lunules.
There are no official names, and I name them to differentiate each type, but find the nickname you like.
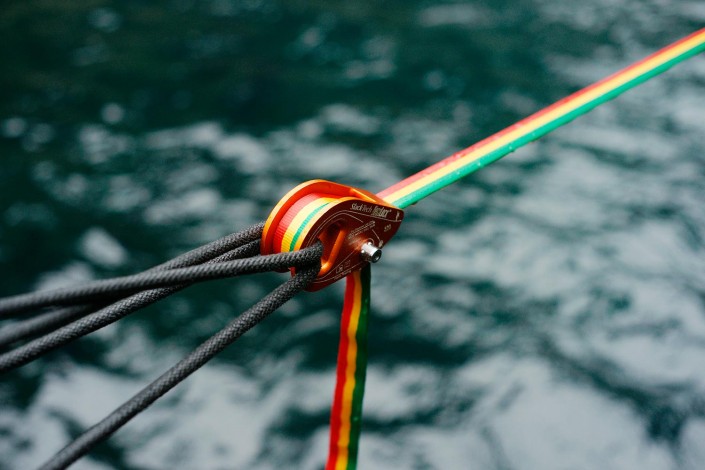
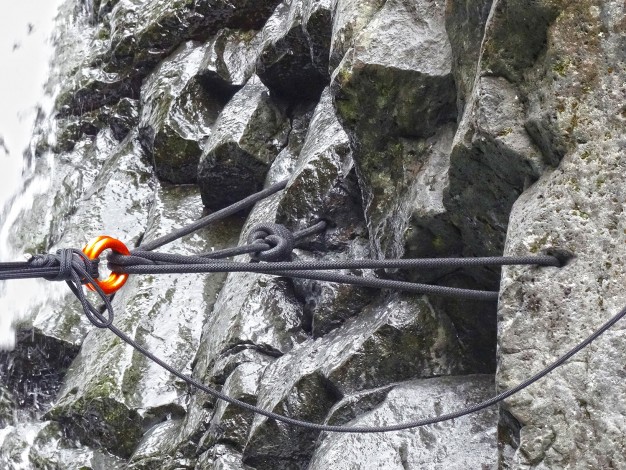
- The “X” variante: This is simply my favorite, and the one I use in 90% of cases !!! The idea is just to reverse the up/down when passing through the connector connecting the webbing. On a scheme, it’s simple, but an error happens quickly. Its advantage is to have a perfectly horizontal line.
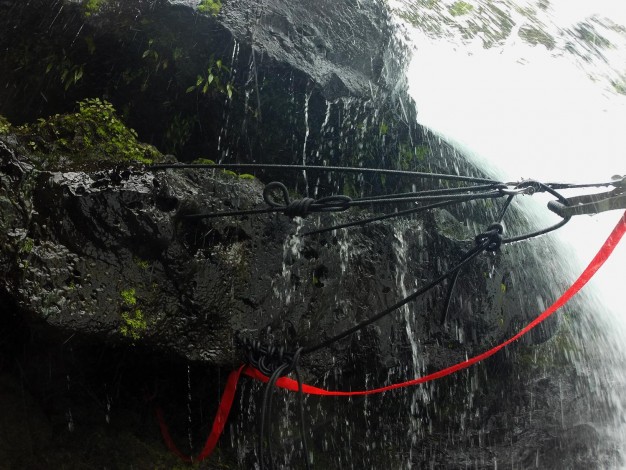
- The “loop” variante: Very practical method when you miss the X for example. He just enough to take a ride on one of the loops, and presto, your installation is complete. Its advantage is an easier equalization, the rope sliding better.
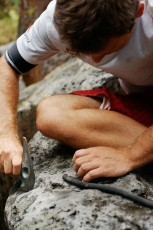
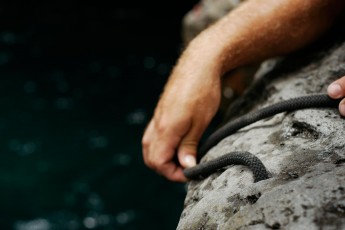
Exemples (assembly, advices, mistakes):

Thanks and my personal opinion:
Before everything, I have to thank Arthur Froissart and Elodie Yop for almost all the pictures!!! If this tutorial is beautiful, it’s trought to them!
As you have understood, I’m a fan of lunules!
Honestly, by doing a small concession of wear for few meters of rope (about 2 years anyway), it’s possible to win on all fronts.
As a partisan of secure installations, I would not suggest it if the method was unsafe.
A bolt will not be necessarily stronger than a lunule. A sling is excessively strong compared to our use. The use of a good rope or Dyneema is more than enough …
For example (approximately), a 10mm rope it’s (2,5×4) – 0.5 = 9.5t breaking strength!!! The rock will break before… I do not prefer talk about the same diameter in Dyneema, it would be ridiculous.
I like to use the least amount of gear possible, have a “zen” installation and easy to carry. I like the rapidity of implementation.
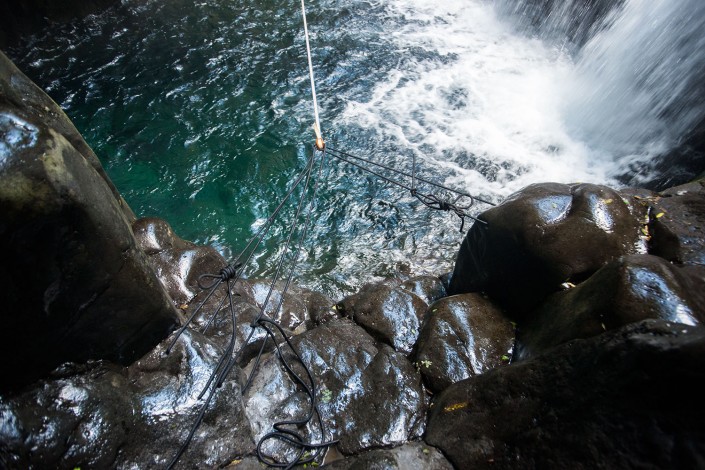
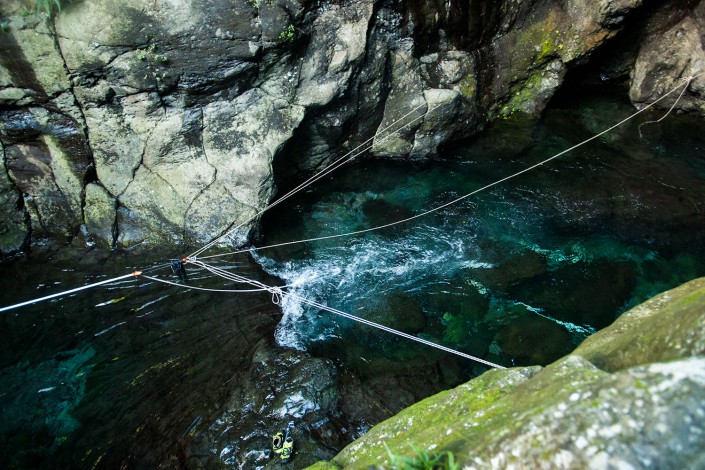
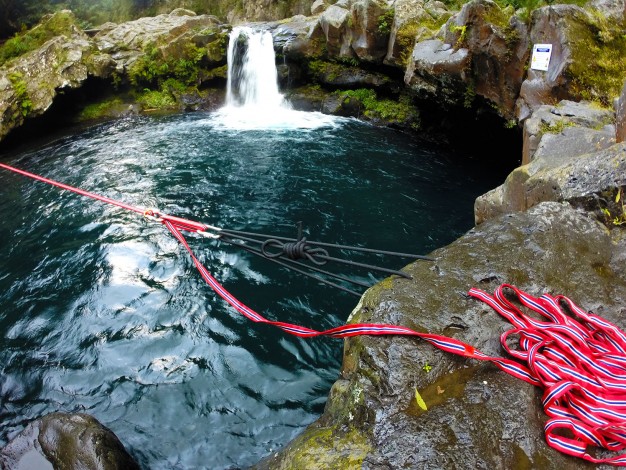
Completing all with a tensioning system known as “lashing” (cf. pictures), and you definitely get the lightest bag in the world for instal 100m slacklines (my webbin anchors kit + tension system = 800gr …)!
It doesn’t exist THE perfect system, but for me, this one it is (for Waterlines).
I continue to advise that as all installations, backup is obligatory, whatever anchors type.
I hope the system will seduce you. Feel free for questions, but please, in the comments below so that everyone can enjoy.
Commentaires


